Elementary Science teachers, this one is for you! This water cycle in a bottle activity will help your students visualize the water cycle. Students get to create their own water biome and see the water cycle come to life right before their eyes!
Spring time is always the best time of the year to teach about the water cycle. We learned about this topic in class first, read about, had some interesting discussions about it, and then my students go to experience it with this fun activity. This is a fun hands-on inquiry lesson that required minimal planning and prep time and your kids or students will enjoy it!
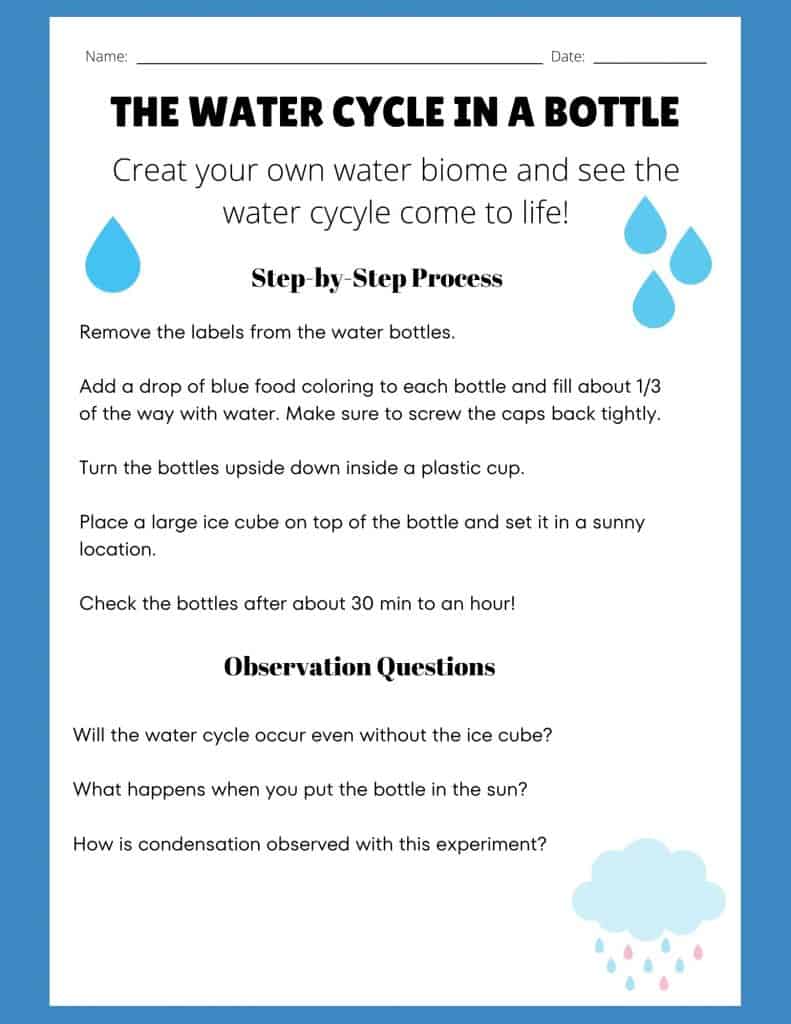
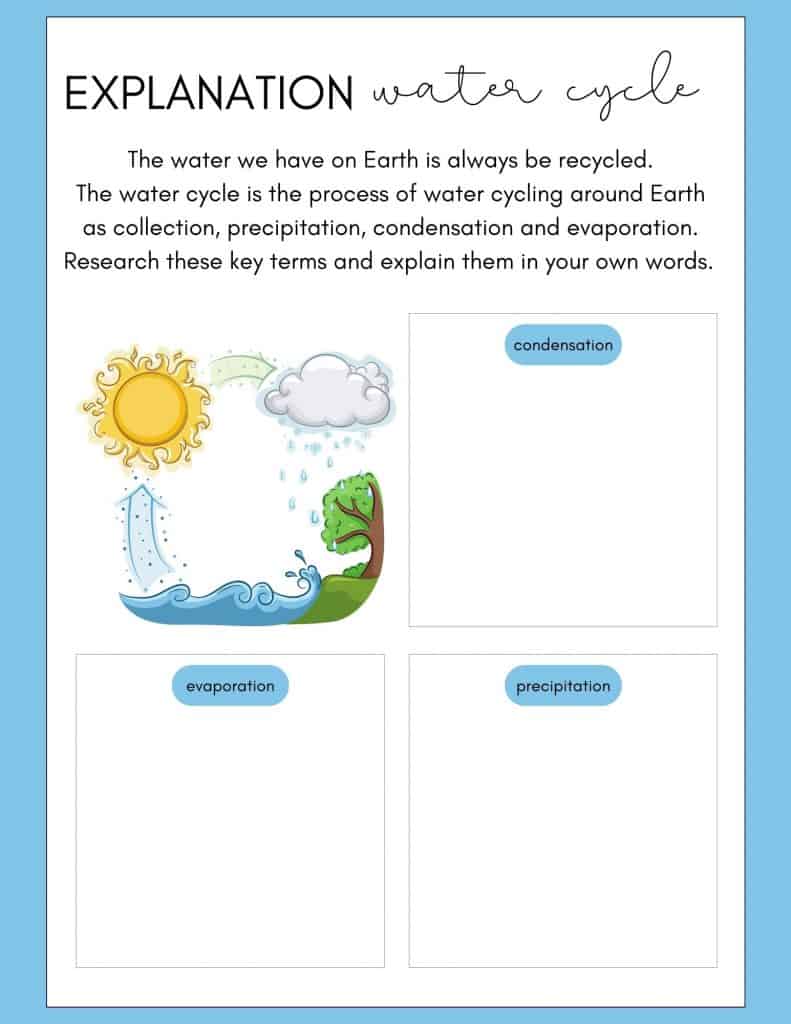
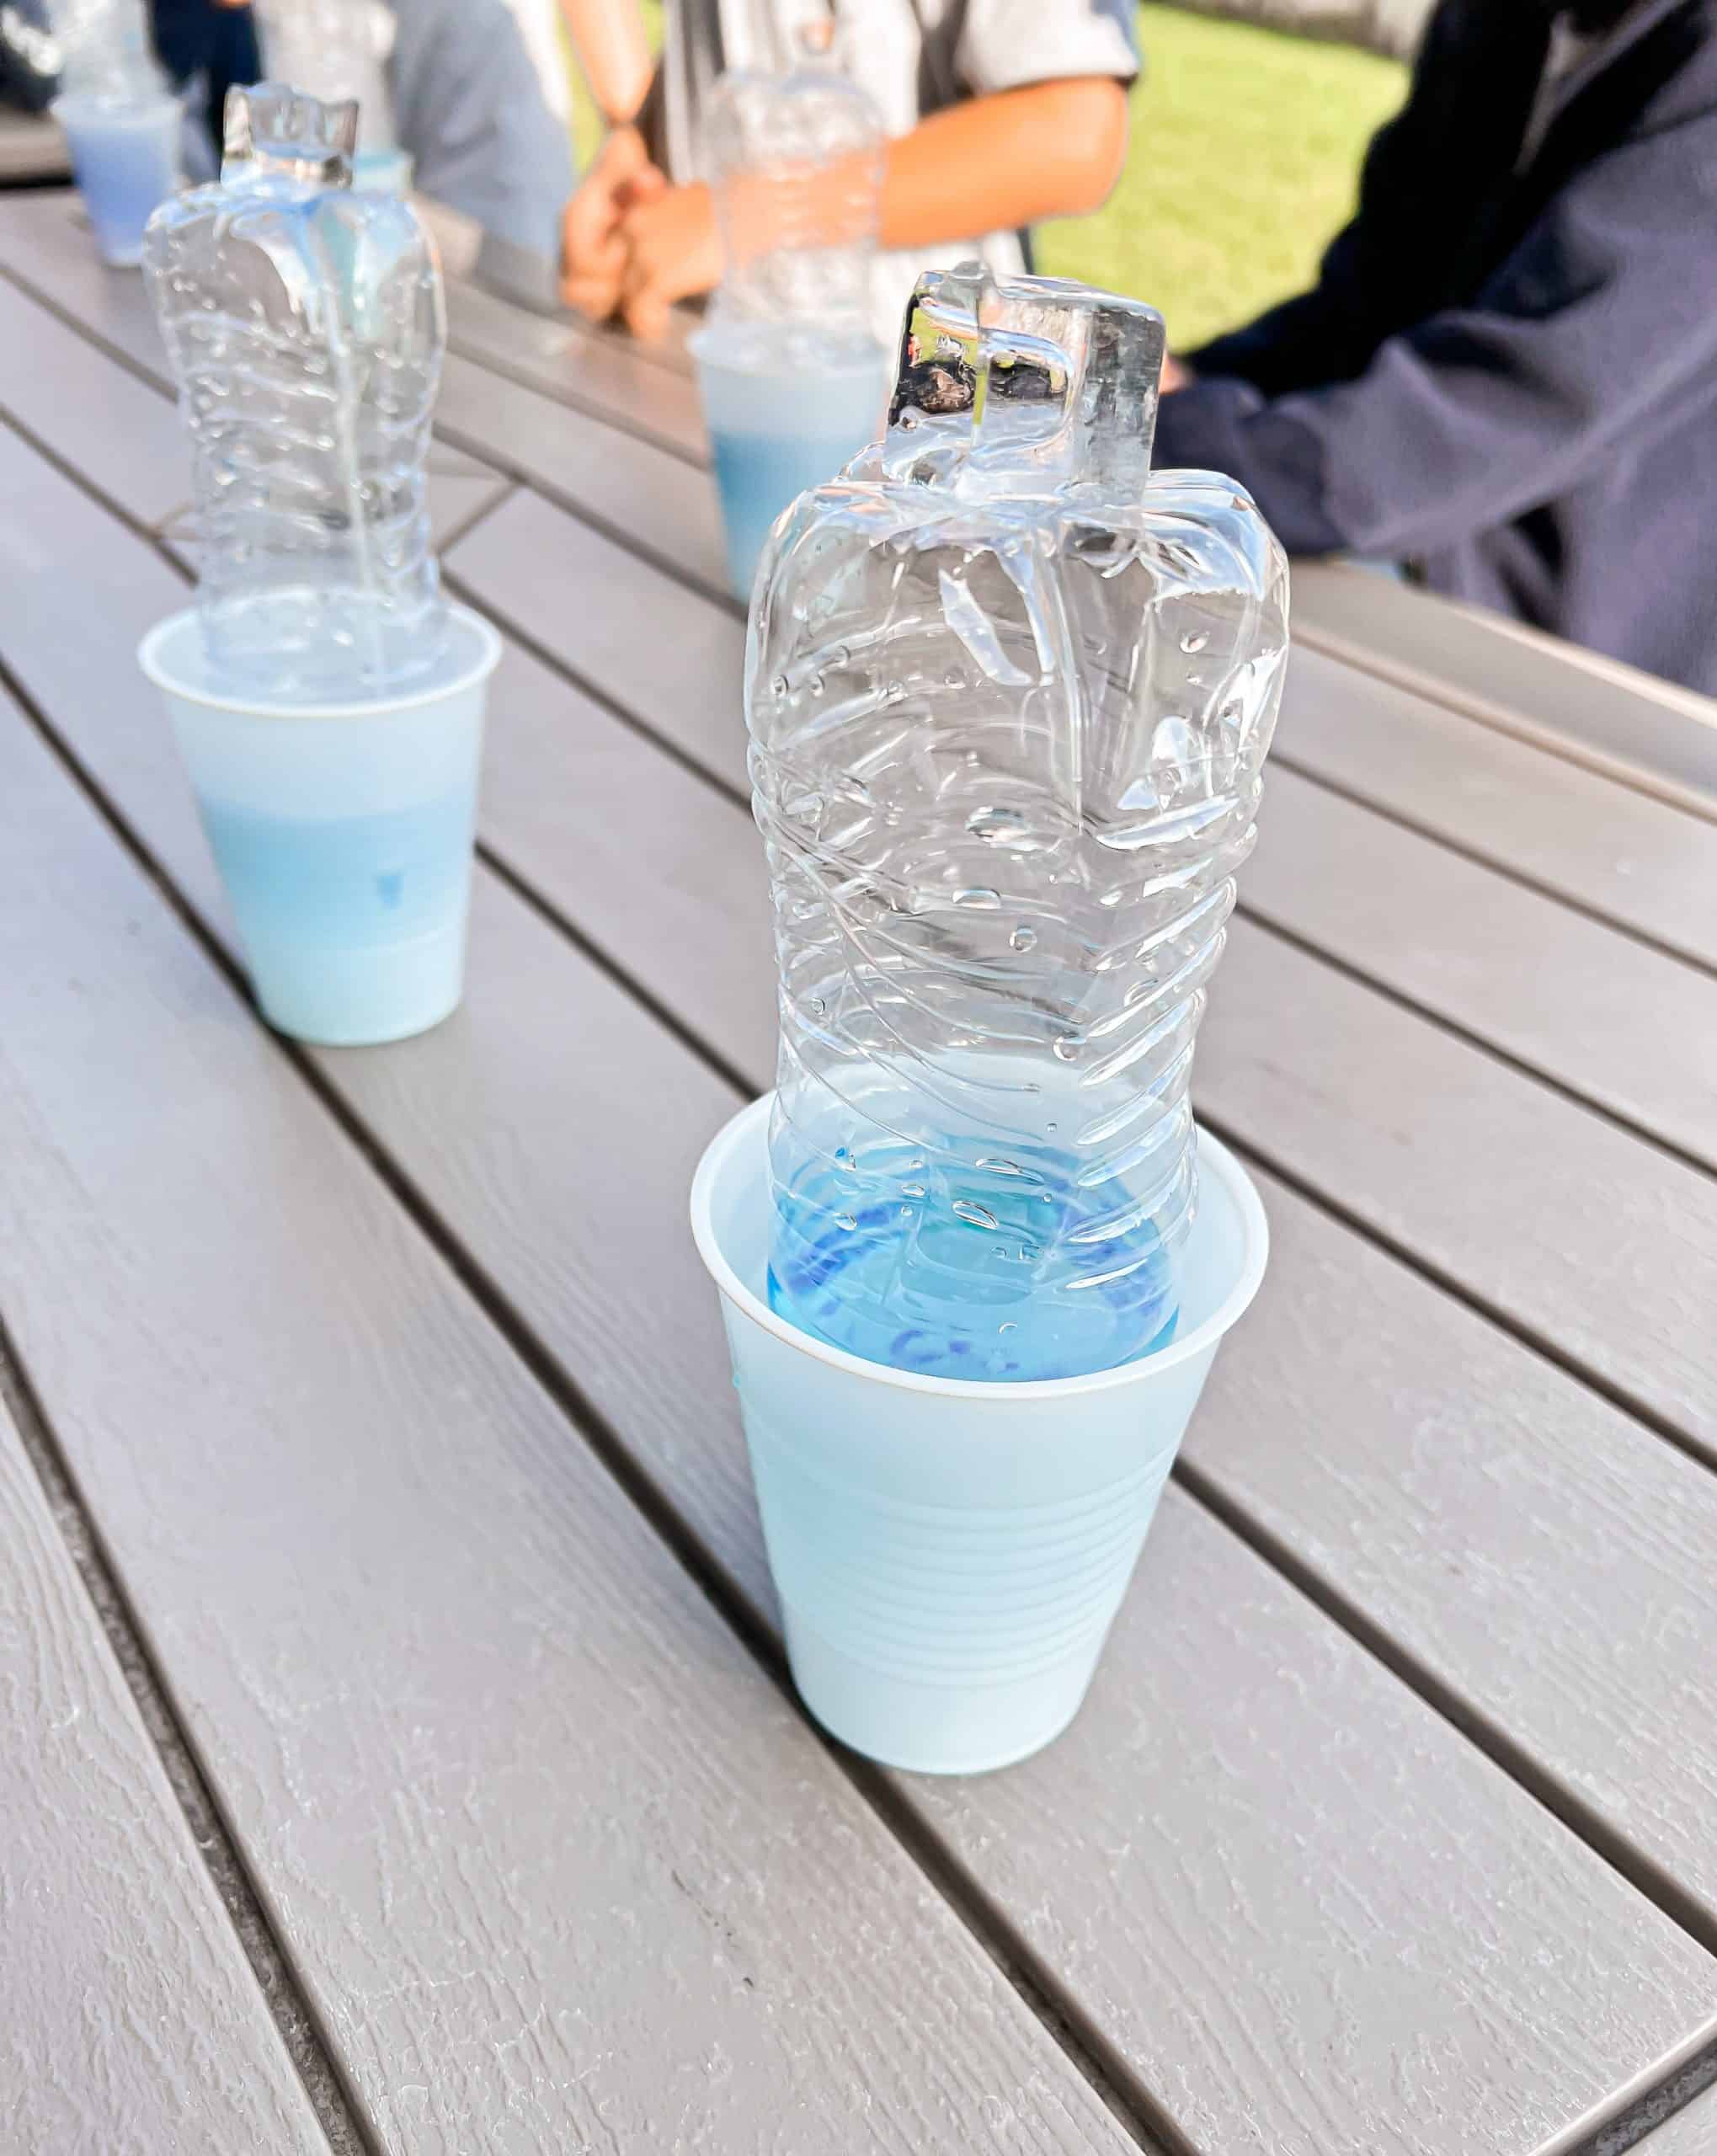
I’ve included a list of materials you’ll need, along with a step-by-step process to follow, pictures to guide you, and a free printable for you students to use while conducting this cool experiment.
Materials Needed:
- plastic water bottle
- water
- blue food coloring
- plastic cups
- ice cubes
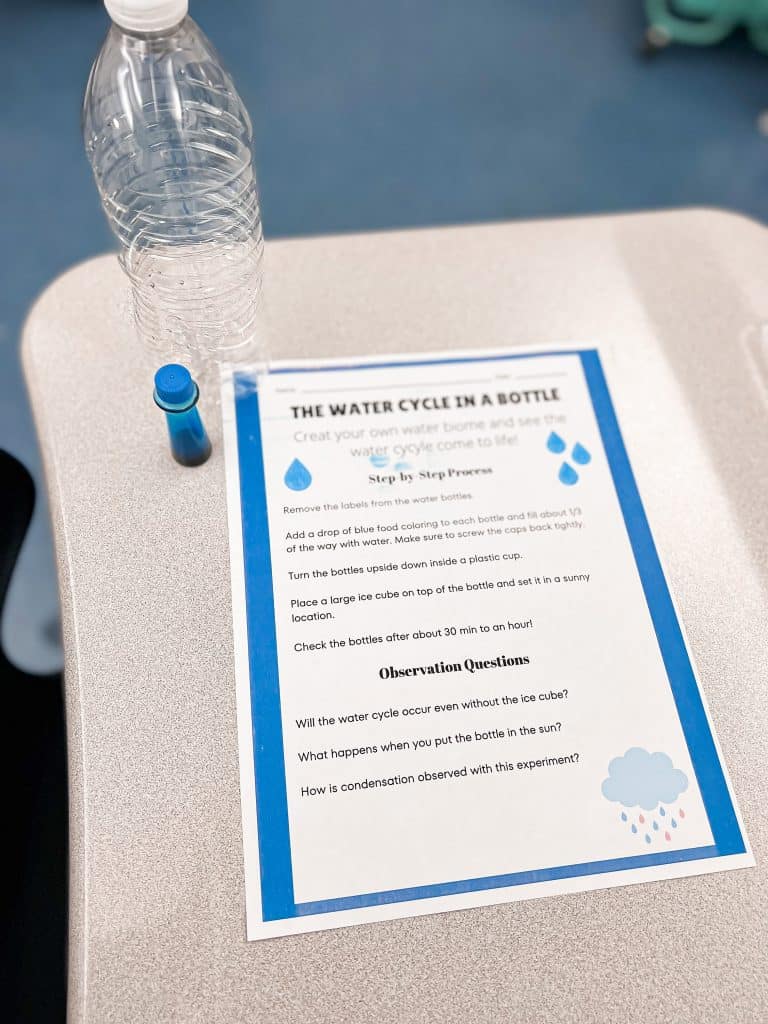
Step-by-Step Process:
- Remove the labels from the water bottles.
- Add a drop of blue food coloring to each bottle and fill each bottle about 1/3 of the way with water. Make sure to screw the caps back on tightly.
- Turn the bottles upside down inside a plastic cup.
- Place a large ice cube on top of the bottle and set it in a sunny location.
- Check the bottles after about 30 minutes to an hour.
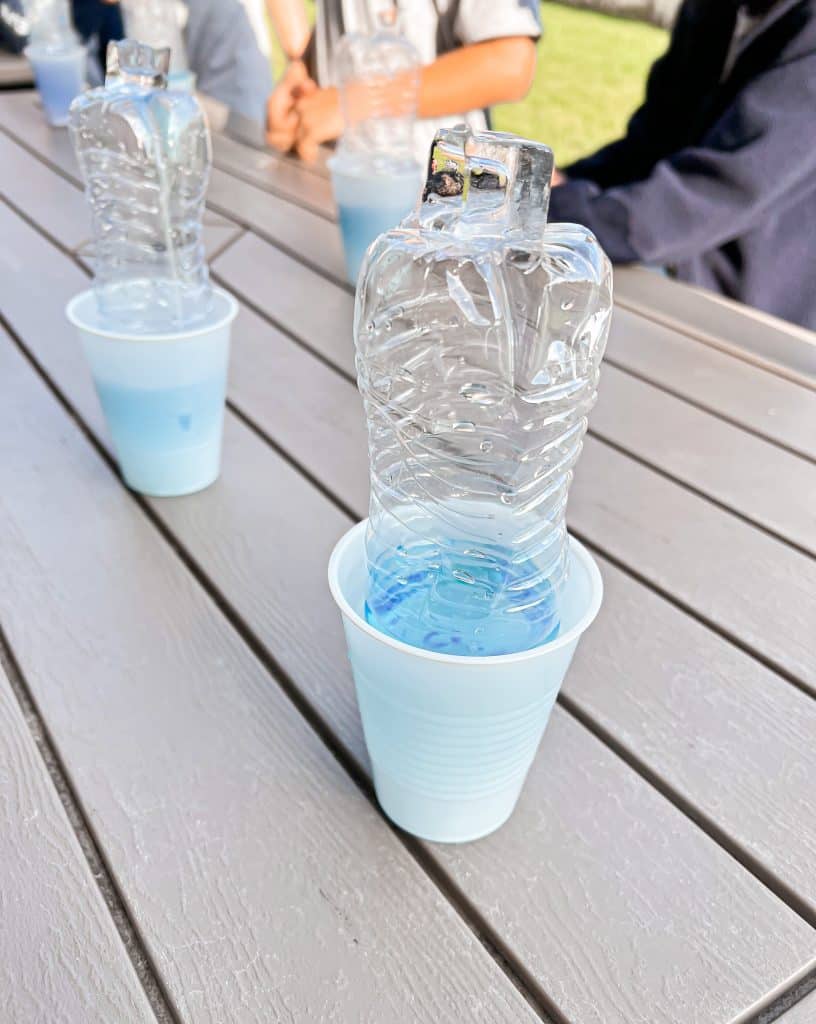
Questions to Ask During Observation:
- Will the water cycle occur even without the ice cube? Why or why not?
- What happens when you put the bottle in the sun?
- How is condensation observed in this experiment?
My students really enjoyed this inquiry lesson, and it sparked a lot of great questions! When you give students or your children, the opportunity to use their hands and create something for them to visually understand a concept, the growth in their learning is limitless!
Get your FREE “Water Cycle in a Bottle” Activity Page plus 2 BONUS printables! Click the link at the bottom of this post to download!
