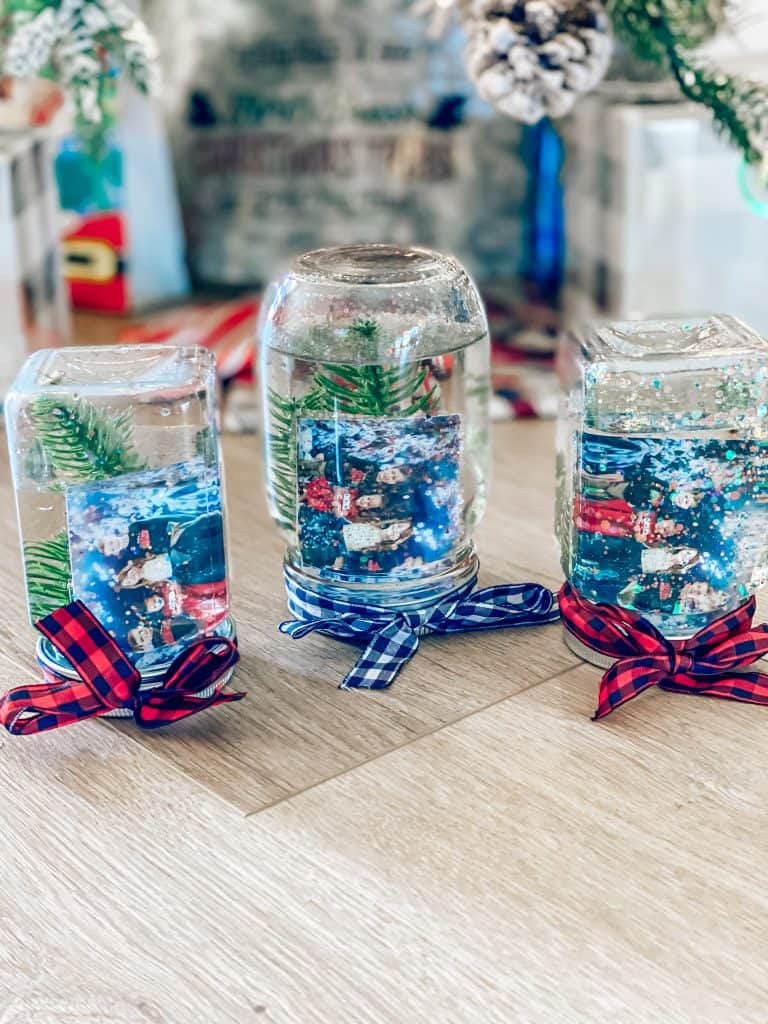
Great Christmas or Holiday gift idea from the kids to family, friends, and loved ones!
I’m always looking for fun, creative activities for my own kids and even my students to do especially during the holidays! This year, I wanted my students to create something personal that they could gift to their families for Christmas so I decided we would make our very own snow globes.
-Katrina De La Fe
This DIY snow glob activity does involve multiple steps and adult supervision, but the end result is all worth it!
Materials Needed:
- 12 oz or larger glass or plastic mason jars (I ordered mine from Amazon and it came with a set of 20) I linked a few options for you here!
- Distilled Water
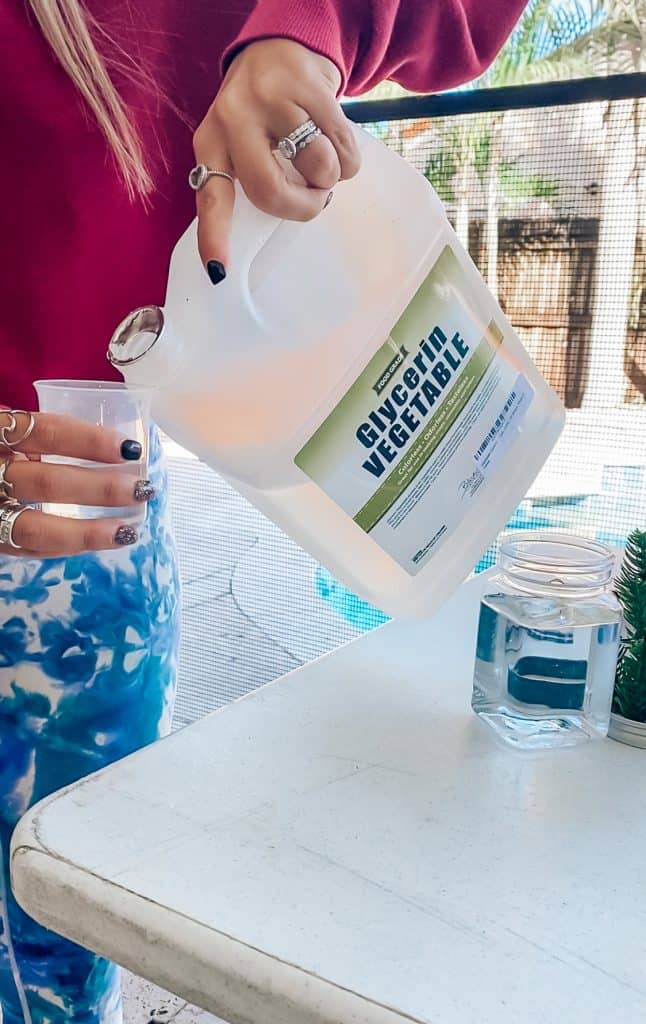
- Vegetable Glycerin 1 gallon – This is the one I ordered since I was making 72 snow globes with my students but linked some other options for you here!
- Glitter (different colors)
- Fake Christmas Pine Needles – Get it Here!
- Hot Glue Gun
- Self Adhesive Laminating Sheets
Ok so here is a step-by-step guide for making the cutest DIY Snow Globes!
- Make sure to use a sturdy glass or plastic jar that has a top to it. The top must fit tightly and securely.
- Select a wallet size picture to go into your snow globe. We chose family pictures when I did it with my students and I chose a Christmas picture of the kids when I did it with my own kids to give to relatives as a gift. Make sure it is a wallet size photo which is typically 2.5” x 3.5”.
- Waterproof your picture by laminating them. I used self adhesive laminating sheets but you can also use a standard laminating machine with thermal laminated pouches.
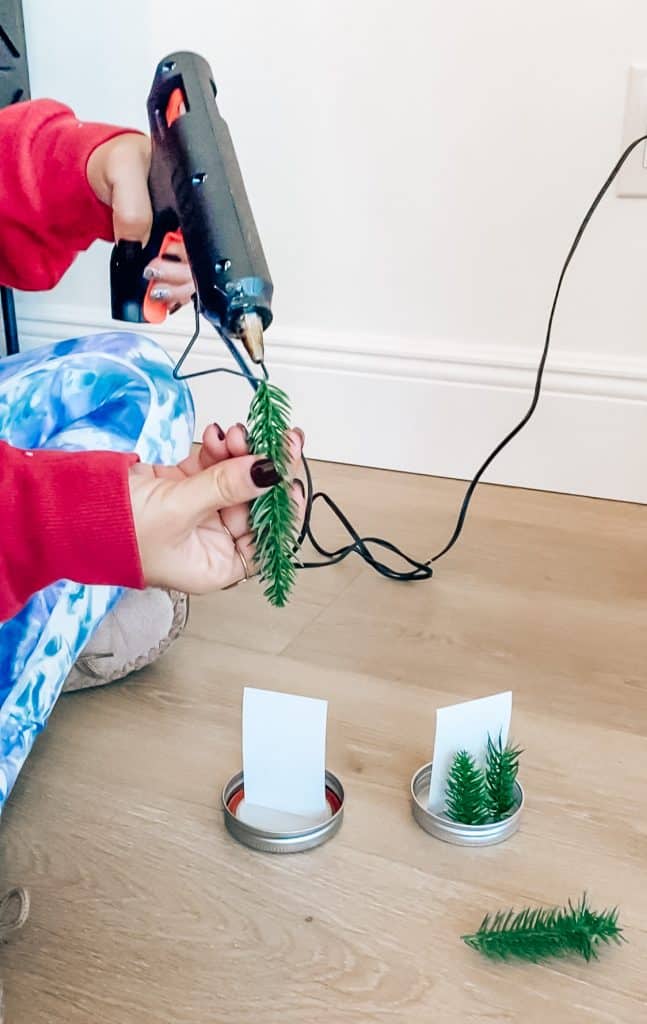
- Using a hot glue gun, glue the laminated picture onto the lid of your jar. Wait a minute or so to make sure it has fully dried.
- You can select any fun Christmas or holiday items to place in your jar to decorate it. I chose these fake pine needles from Amazon. Using wire cutters, cute the pine needles so that they are small enough to fit in the jar.
- Using the hot glue gun, glue one of the ends of the fake pine needles and place it behind the picture or wherever you’d like. I used 2 in the jars.
- Next, you pour the distilled water into the jar. The measurements of the water really depend on the size of the jar you are using. For the 20 oz jar I used, I poured about a cup and a half of water.
- Next, you pour in the glycerin. The glycerin is what really creates the snow glob affect with the glitter.
- I recommend pouring in about 3 – 4 teaspoons of glycerin. Again, the ratio of water to glycerin you use all depends on the size of the jars you are using. You can add more or less depending on the size of the jar.
- Once you have the water and glycerin in the jar, use a spoon to mix together and then pour in your choice of glitter. We mixed the white glitter with another fun holiday color.
- Once the glitter is mixed in with the water and glycerin, you put the top on and make sure it is tightly secured.
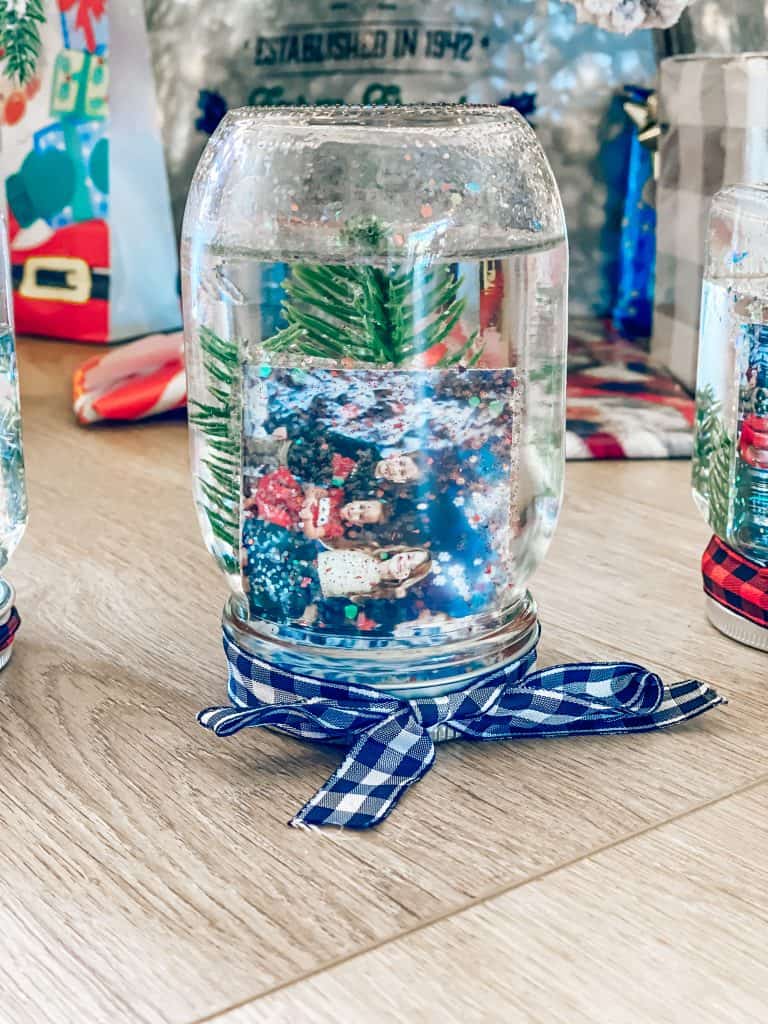
- Shake the jar and watch your snow globe come to life!


You can also add some ribbon around the lid of the jar to give that extra holiday flare. These snow globes make the cutest personalized gift from the kids to their friends and family members! Let me know if you try these and how they come out 😊
These snow globes will make the perfect gift for loved ones! Let me know what ya’ll think in the comments and please don’t forget to subscribe to stay up to date with my content 😊

